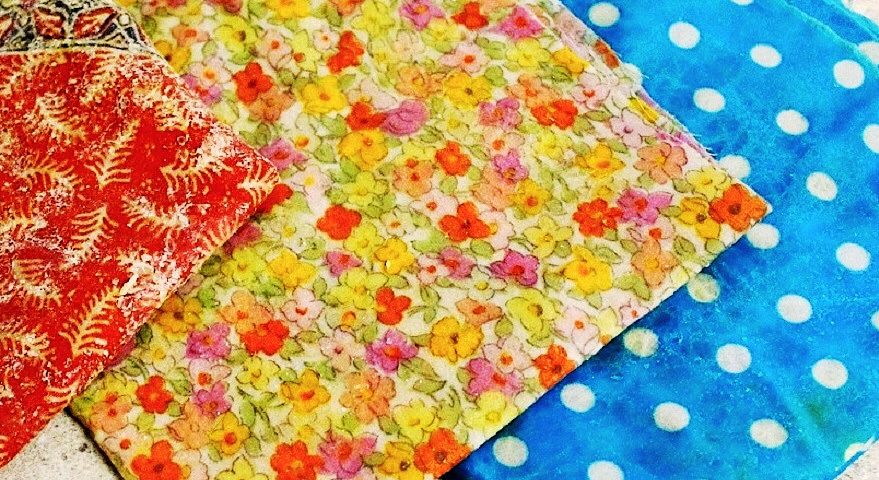
“Save money on plastic wrap and do your bit for the environment”
These DIY lunch wraps are super easy to make and lots of fun (especially if you get the kids involved). They can be used to wrap everything from sandwiches and wraps, to cakes, muffins and biscuits. They are also fabulous for covering salads and casseroles to keep them fresh in the fridge. Simply rinse in warm, soapy water and allow to air dry before reusing the next day. Brilliant! They are also a useful way to use up material from old clothes or off cuts from the sewing room. There’s certainly no need to purchase material specifically for this (unless you want to, of course). Think of all the money you’ll save on plastic wrap, as well as, doing your bit for the environment. It’s a win/win!
what you’ll need
Beeswax (you can use pellets or grate your own from a block)
Colourful material cut to your preferred size (squares and rectangles work best)
Baking trays x 2
Baking paper (greaseproof)
An old paintbrush
what to do
Preheat your oven to 180°C. Line two rectangular baking sheets with greaseproof paper and set aside.
Lay your choice of material on the baking paper. Make sure the material does not hang over the edges.
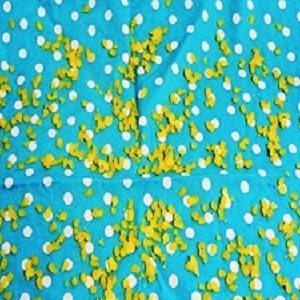
Sprinkle or grate your beeswax evenly over the material (you’ll need roughly 20 grams per 30cm x 30cm piece of material)
Place in oven for about 1 minute until wax has melted. You will need to watch it to make sure that it doesn’t smoke and burn.
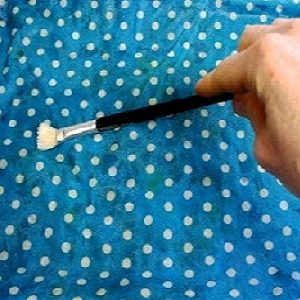
Remove from oven and spread wax evenly over the material with your paintbrush. You will have to work quickly here or the wax will begin to harden, especially at cooler times of the year.
Hang to dry. Once dry, your beeswax wraps are ready to use!
notes
If wraps begin to break down after a few weeks of regular usage, you can simply pop them back on a tray and into the oven for 2 minutes. The beeswax will then remelt (no brush is necessary for this stage). Make sure you hang them to dry before using again.
As regularly created and used by Emma H at go natural foods.

